Why You’ll Love This Recipe
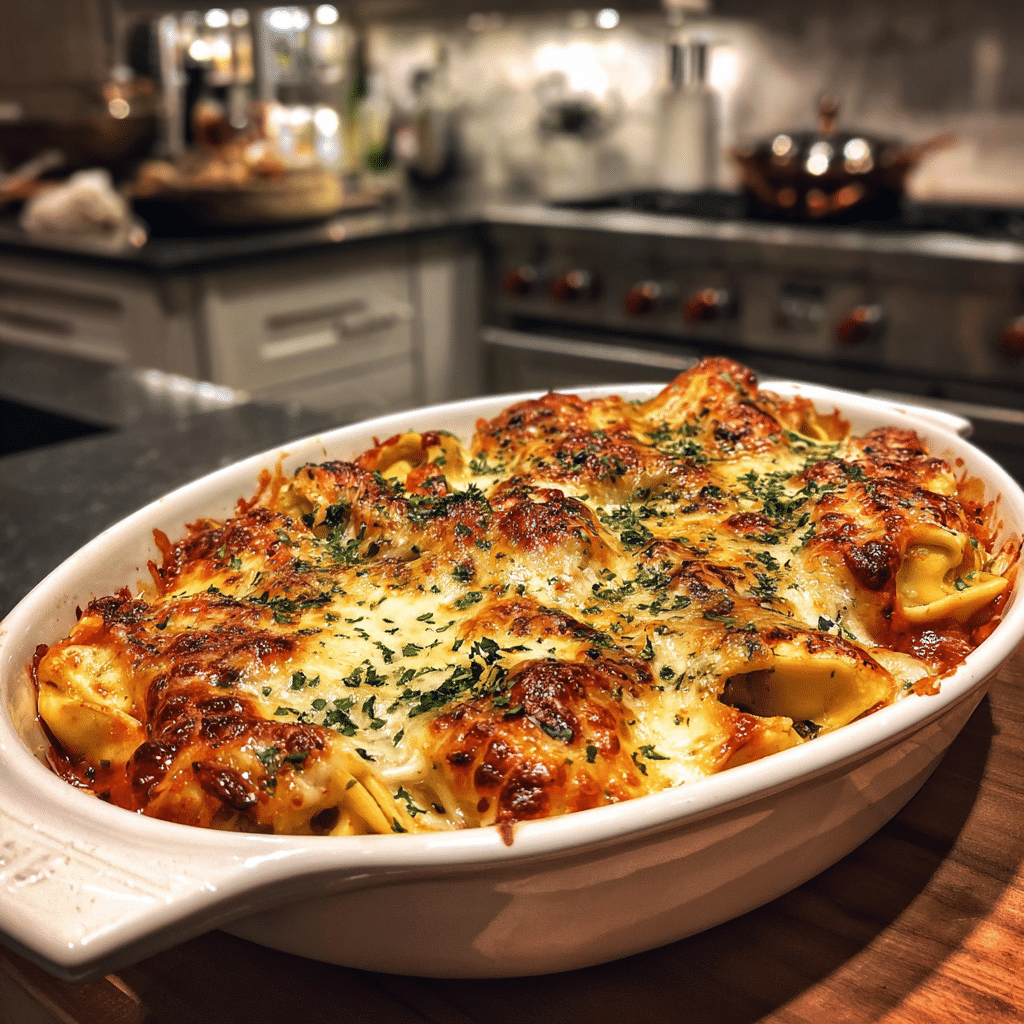
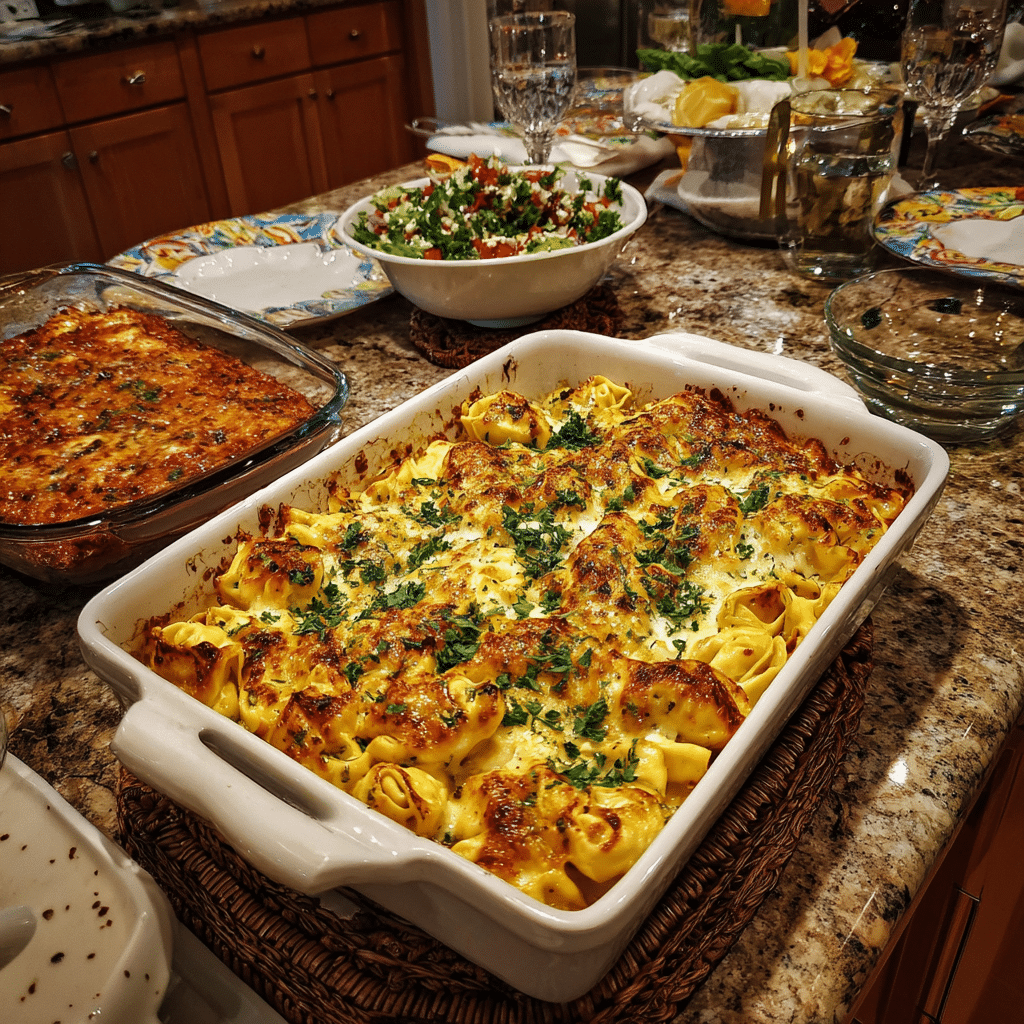
Cheesy Pizza Tortellini Dinner is the ultimate comfort food mash-up—combining cheesy, pillowy tortellini with the bold, savory flavors of pizza. It’s a dish that’s easy to make, satisfying, and totally customizable to suit your family’s tastes. I first made this dish when I was craving both pizza and pasta, and it immediately became a go-to weeknight meal. The combination of tender tortellini, gooey melted cheese, and zesty pizza sauce is perfect for anyone who loves pizza but wants something just a little bit different. Add in your favorite pizza toppings, like pepperoni, mushrooms, or olives, and you’ve got a complete meal that’s as fun as it is delicious. Best of all, it comes together quickly with just a few simple ingredients!
Print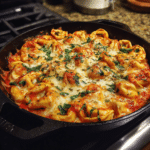
Cheesy Pizza Tortellini Dinner: A Flavorful Twist on Classic Comfort Food
- Total Time: 30 minutes
- Yield: 4 servings
Description
Cheesy Pizza Tortellini Dinner is a fun and flavorful twist on traditional pizza, featuring cheese-filled tortellini tossed in a rich tomato sauce with mozzarella, pepperoni, and a sprinkle of Italian herbs.
Ingredients
[object Object]
Instructions
[object Object]
Notes
- For extra flavor, you can add sautéed onions, bell peppers, or olives to the sauce or tortellini mixture.
- If you prefer a lighter version, use whole wheat or gluten-free tortellini.
- This dish can be made ahead and reheated for an easy weeknight dinner.
- Prep Time: 10 minutes
- Cook Time: 20 minutes
- Category: Main Course
- Method: Stovetop
- Cuisine: Italian
Ingredients
(Tip: You can find the complete list of ingredients and their measurements in the recipe card below.)
- Cheese tortellini: The base of the dish, with soft, cheesy pasta that adds a comforting texture. You can use fresh or frozen tortellini, depending on what you have available.
- Pizza sauce: The flavor foundation, bringing the iconic pizza taste to the pasta. You can use store-bought pizza sauce or make your own.
- Mozzarella cheese: The key to making this dish extra cheesy and gooey. Shredded mozzarella works best for a melt-in-your-mouth texture.
- Parmesan cheese: Adds a nutty, salty finish that perfectly complements the mozzarella.
- Italian seasoning: To enhance the pizza flavors, a mix of basil, oregano, and thyme is perfect.
- Pepperoni or other pizza toppings (optional): Customize the dish with your favorite pizza toppings. Sliced pepperoni, mushrooms, olives, or bell peppers all work wonderfully in this dish.
- Olive oil: A small amount to coat the tortellini before baking, adding a touch of richness.
Directions
- Preheat oven to 375°F (190°C) and grease a 9×13-inch baking dish or casserole dish with cooking spray or a light drizzle of olive oil.
- Cook the tortellini: Bring a large pot of salted water to a boil. Cook the tortellini according to package instructions, usually about 2-3 minutes if using fresh tortellini. If you’re using frozen, cook for a few extra minutes. Drain the tortellini and return them to the pot.
- Mix the sauce and tortellini: Add the pizza sauce and 1 cup of shredded mozzarella cheese to the cooked tortellini. Stir until the tortellini is well coated with the sauce and cheese. If you’re adding pizza toppings like pepperoni or mushrooms, stir them in at this point.
- Transfer to the baking dish: Pour the cheesy tortellini mixture into the prepared baking dish, spreading it out evenly.
- Top with more cheese: Sprinkle the remaining mozzarella cheese and Parmesan cheese on top. If you want extra pizza flavor, you can sprinkle a little Italian seasoning over the top as well.
- Bake: Place the dish in the oven and bake for 15-20 minutes, or until the cheese is melted and bubbly, and the top is golden brown.
- Serve: Remove from the oven and let it cool for a few minutes before serving. Garnish with fresh basil or parsley for a pop of color and freshness if desired.
Equipment needed
Must-Have Tools to Get Rolling
Here’s what you’ll want to have on hand:
Silicone Spatula – Durable, heat-resistant silicone spatula perfect for mixing, scraping, and spreading. Gentle on non-stick cookware and easy to clean.
Large pot – You’ll need this to boil the whole cabbage head and soften the leaves.
large bowl –Spacious, durable large bowl ideal for mixing, serving, or food preparation. Made from sturdy material and easy to clean.
Sharp knife – For coring the cabbage and slicing out the thick stem in each leaf. A paring knife works best.
Mixing bowl – A big bowl makes it easier to combine your meat and rice filling evenly.
Cutting board – For prepping cabbage leaves and rolling them like a pro.
Full-Size Blender – is a powerful kitchen appliance for making smoothies, soups, and sauces in large batches.
3-in-1 Air Fryer – This versatile 3-in-1 air fryer offers Air Fry for healthier meals with less oil, Bake for bakery-quality desserts and treats, and Reheat to bring leftovers back to life with crispy, flavorful results
Servings and timing
This recipe serves 4-6 people.
Preparation time: 10 minutes
Cooking time: 25 minutes
Total time: 35 minutes
Storage/reheating
Store any leftovers in an airtight container in the refrigerator for up to 3 days. Reheat in the microwave or bake in the oven at 350°F (175°C) for 10-12 minutes, or until heated through.
Variations and Customizations
- Vegetarian Version: Skip the pepperoni or meat toppings and add more veggies, such as mushrooms, spinach, onions, or bell peppers.
- Meat Lovers: Add cooked sausage, ground beef, or even bacon for a heartier, meat-packed version.
- Spicy Kick: For a spicy twist, add a few red pepper flakes to the sauce or layer some sliced jalapeños on top before baking.
- Different Cheeses: Swap mozzarella for provolone, fontina, or cheddar for a different cheese experience.
- Gluten-Free: Use gluten-free tortellini for a gluten-free version of this dish.
- Add a Crunch: For extra texture, top with breadcrumbs or crushed crackers before baking.
Nutrition and Dietary Info
| Nutrient | Per Serving |
|---|---|
| Calories | 450 |
| Protein (g) | 20 |
| Carbs (g) | 48 |
| Fat (g) | 20 |
| Saturated Fat (g) | 9 |
| Fiber (g) | 2 |
| Sugar (g) | 6 |
| Sodium (mg) | 800 |
Expert Tips & Customizations
- Don’t Overcook the Tortellini: Since the tortellini will bake in the sauce, be sure not to overcook it when boiling. A slightly undercooked pasta works best.
- Use a Pizza Stone: If you have one, using a pizza stone can help make the crust a little crispier, adding to the pizza-like experience.
- Top with Fresh Herbs: For extra freshness, add a sprinkle of fresh basil or parsley after baking to add color and a fresh bite.
FAQs
Can I use store-bought pizza sauce?
Yes, store-bought pizza sauce works perfectly, or you can make your own using canned tomato sauce and seasoning.
What if I don’t have tortellini?
You can substitute with any pasta of your choice, such as penne or rigatoni, though tortellini adds a unique texture to the dish.
Can I freeze this dish?
Yes, you can assemble the dish and freeze it before baking. Just cover tightly with plastic wrap and foil and bake from frozen for about 40-45 minutes.
How can I make it spicier?
Add red pepper flakes, jalapeños, or a spicy sausage to the filling to give the dish an extra kick.
Can I make this ahead of time?
Yes, you can prepare it a day or two in advance. Just assemble, cover, and refrigerate until you’re ready to bake.
Conclusion
Cheesy Pizza Tortellini Dinner combines two beloved dishes—pizza and pasta—into one creamy, cheesy, and irresistible meal. With its savory flavors, gooey cheese, and customizable toppings, this is a meal everyone will love. Whether for a busy weeknight or a fun weekend dinner, this dish is sure to be a hit every time.
Hungry for more? Visit our website for full recipes and follow us on Pinterest for daily foodie inspo you’ll love to pin!