Why You’ll Love This Recipe
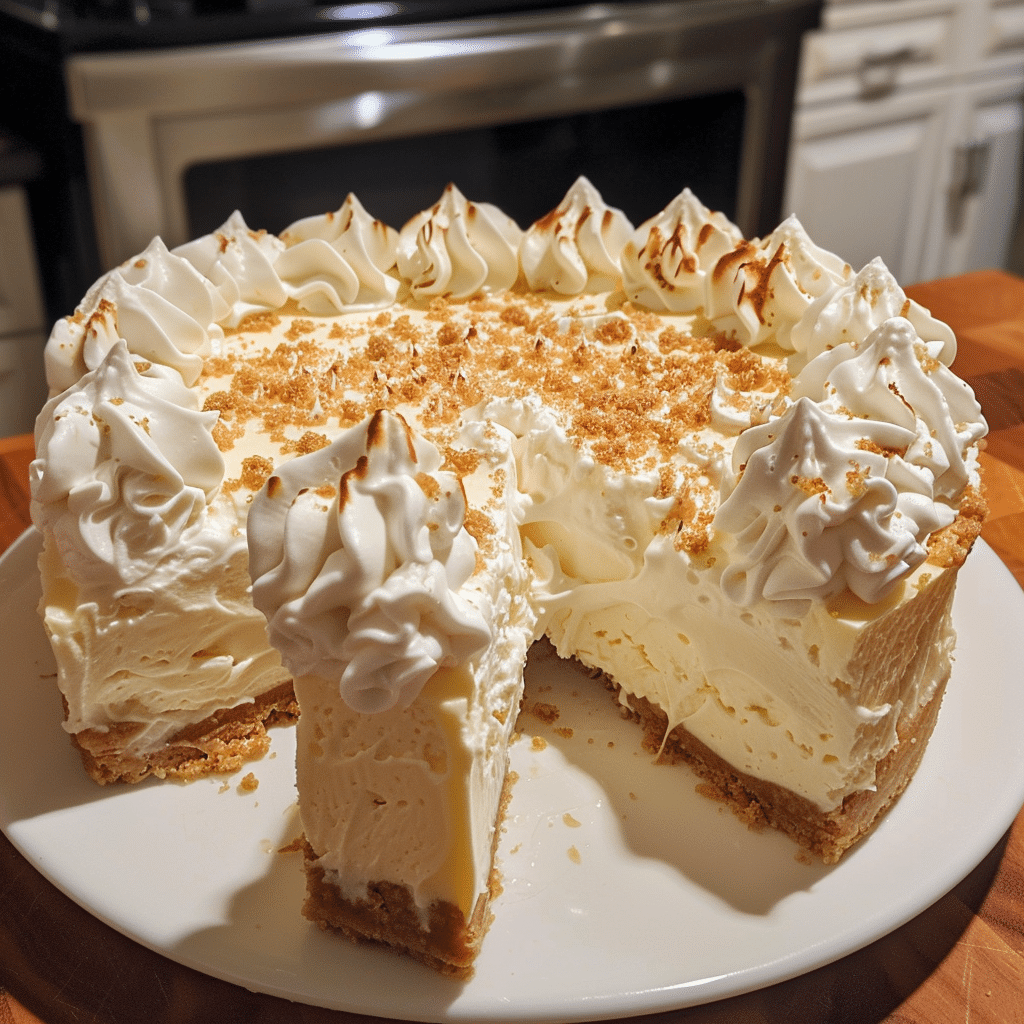
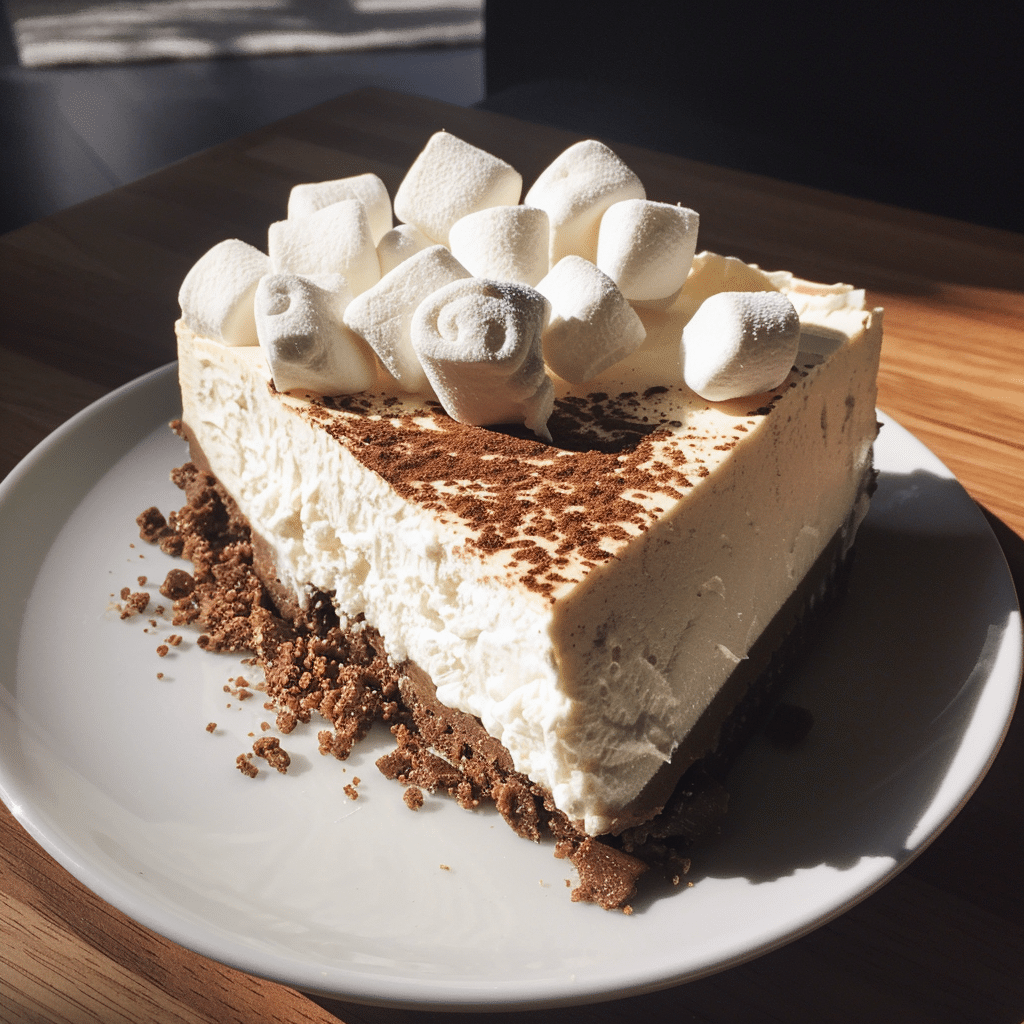
No-bake marshmallow cheesecake is a dessert dream — perfectly creamy, fluffy, and bursting with nostalgic sweetness. It’s the kind of dessert that feels both indulgent and light, with a soft marshmallow filling resting on a buttery graham cracker crust. The best part? No oven, no fuss, and just a few simple ingredients. I once topped mine with toasted marshmallows and a drizzle of chocolate sauce, giving it a delicious s’mores twist that my guests couldn’t stop talking about. Whether you’re preparing it for a holiday table, summer cookout, or a make-ahead dessert, this cheesecake delivers that melt-in-your-mouth perfection every time.
Print
No-Bake Marshmallow Cheesecake: Light, Fluffy, and Sweetly Irresistible
- Total Time: 4 hours 30 minutes
- Yield: 1 (9-inch) cheesecake, about 8 servings
- Diet: Vegetarian
Description
No-Bake Marshmallow Cheesecake is a light, creamy dessert made with fluffy marshmallows, rich cream cheese, and a buttery graham cracker crust. It’s an easy, crowd-pleasing treat that requires no oven time and delivers a perfectly smooth, melt-in-your-mouth texture.
Ingredients
- 1 1/2 cups graham cracker crumbs
- 1/3 cup unsalted butter, melted
- 2 tbsp sugar
- 10 oz (280 g) mini marshmallows
- 1/2 cup whole milk
- 16 oz (450 g) cream cheese, softened
- 1 tsp vanilla extract
- 1 cup heavy whipping cream
- 2 tbsp powdered sugar
- Optional toppings: whipped cream, chocolate shavings, or fresh berries
Instructions
- In a medium bowl, combine graham cracker crumbs, melted butter, and sugar. Mix until fully combined and press into the bottom of a 9-inch springform pan. Chill in the refrigerator for at least 20 minutes.
- In a saucepan over low heat, melt the mini marshmallows with milk, stirring constantly until smooth. Remove from heat and let cool to room temperature.
- In a large bowl, beat the softened cream cheese and vanilla extract until smooth and creamy.
- Add the cooled marshmallow mixture to the cream cheese and beat until fully incorporated.
- In a separate bowl, whip the heavy cream and powdered sugar until stiff peaks form.
- Gently fold the whipped cream into the marshmallow cheesecake mixture until evenly combined.
- Pour the filling over the chilled crust and smooth the top with a spatula.
- Refrigerate for at least 4 hours, or until fully set. Garnish with whipped cream or desired toppings before serving.
Notes
- Ensure the marshmallow mixture is completely cooled before mixing with the cream cheese to prevent curdling.
- For added flavor, try mixing crushed cookies or chocolate chips into the crust.
- This cheesecake can be made up to 2 days ahead and stored in the refrigerator.
- Prep Time: 25 minutes
- Cook Time: 5 minutes
- Category: Dessert
- Method: No-bake
- Cuisine: American
Ingredients
(Tip: You can find the complete list of ingredients and their measurements in the recipe card below.)
Graham cracker crumbs – Classic base for cheesecakes, buttery and sweet with a hint of crunch.
Butter – Melted and mixed with the crumbs to form the crust; adds richness and flavor.
Cream cheese – The heart of the filling; smooth, tangy, and creamy. Make sure it’s softened for easy mixing.
Mini marshmallows – Melted into the filling for sweetness and that light, airy texture.
Heavy whipping cream – Whipped to soft peaks, this gives the cheesecake a luscious, mousse-like consistency.
Powdered sugar – Adds sweetness and ensures a smooth, creamy texture without grittiness.
Vanilla extract – Enhances flavor and complements the marshmallows perfectly.
Lemon juice (optional) – A small squeeze helps balance the sweetness with a touch of acidity.
Whipped cream and mini marshmallows (for topping) – Optional but beautiful and fun for presentation.
Directions
Start by making the crust. In a medium bowl, combine the graham cracker crumbs with melted butter. Mix until evenly coated and crumbly, like wet sand. Press firmly into the bottom of a 9-inch springform pan to form a smooth, even crust. Place in the refrigerator to chill while you prepare the filling.
In a small saucepan over low heat, melt the mini marshmallows with ½ cup of heavy cream. Stir continuously until smooth and combined, then remove from heat and let cool to room temperature.
In a large bowl, beat the softened cream cheese and powdered sugar together until smooth and creamy. Mix in vanilla extract and lemon juice (if using). Gradually add the cooled marshmallow mixture, beating until everything is fully combined and fluffy.
In a separate bowl, whip the remaining heavy cream to soft peaks. Gently fold the whipped cream into the marshmallow cheesecake filling using a spatula, being careful not to deflate the mixture.
Pour the filling over the chilled crust and smooth the top. Cover with plastic wrap and refrigerate for at least 6 hours, preferably overnight, until firm and set.
Before serving, top with whipped cream, extra mini marshmallows, or a drizzle of chocolate or caramel sauce. Slice and enjoy a light, fluffy cheesecake that feels like eating a sweet cloud.
Essential Equipment
Must-Have Tools to Get Rolling
Here’s what you’ll want to have on hand:
- Large pot – You’ll need this to boil the whole cabbage head and soften the leaves.
- large bowl –Spacious, durable large bowl ideal for mixing, serving, or food preparation. Made from sturdy material and easy to clean.
- Sharp knife – For coring the cabbage and slicing out the thick stem in each leaf. A paring knife works best.
- Mixing bowl – A big bowl makes it easier to combine your meat and rice filling evenly.
- Cutting board – For prepping cabbage leaves and rolling them like a pro.
- 9×13-inch baking dish – Ideal size to fit your rolled cabbage leaves snugly and prevent them from unraveling.
- knife – A sharp, durable kitchen knife perfect for slicing, chopping, and dicing with ease.
- Silicone Spatula – Durable, heat-resistant silicone spatula perfect for mixing, scraping, and spreading. Gentle on non-stick cookware and easy to clean.
Servings and timing
This recipe makes 10–12 servings. Preparation takes about 20 minutes, and chilling time is at least 6 hours (overnight is ideal). Total time: approximately 6 hours and 20 minutes.
Storage/reheating
Store the cheesecake covered in the refrigerator for up to 5 days. For longer storage, freeze the cheesecake (without topping) for up to 2 months; thaw overnight in the fridge before serving. Since it’s no-bake, serve cold for the perfect creamy texture.

Variations and Customizations
S’mores Marshmallow Cheesecake – Add a layer of melted chocolate between the crust and filling, then top with toasted marshmallows.
Strawberry Marshmallow Cheesecake – Fold in diced strawberries or swirl in strawberry puree before chilling.
Chocolate Marshmallow Cheesecake – Melt ½ cup of chocolate chips with the marshmallows for a rich, cocoa-infused filling.
Peanut Butter Marshmallow Cheesecake – Add ½ cup of creamy peanut butter to the filling for a nutty, sweet twist.
Mint Marshmallow Cheesecake – Add peppermint extract and a drop of green coloring for a refreshing flavor.
Cookies & Cream Marshmallow Cheesecake – Use crushed Oreos for the crust and fold in cookie pieces.
Lemon Marshmallow Cheesecake – Stir in 2 tablespoons of lemon zest for a bright, citrusy version.
Coconut Marshmallow Cheesecake – Mix in shredded coconut and use coconut cookies for the crust.
Caramel Drizzle Cheesecake – Top with caramel sauce and sea salt for a sweet-and-salty finish.
Mini Marshmallow Cheesecakes – Divide the mixture into cupcake liners for individual servings — perfect for parties!
FAQs
Can I use marshmallow fluff instead of marshmallows?
Yes, substitute with about 2 cups of marshmallow fluff — no melting needed.
Can I make this cheesecake dairy-free?
Yes, use dairy-free cream cheese, coconut cream, and vegan butter.
How long should it chill before serving?
At least 6 hours, but overnight gives the best structure and flavor.
Can I use a store-bought crust?
Definitely — it’s a great time-saving option.
Can I add food coloring?
Yes, add a few drops of pastel color for a fun, festive look.
Can I use large marshmallows?
Yes, just chop them up and measure by volume before melting.
Why is my cheesecake too soft?
It may not have chilled long enough or the marshmallow mixture was too warm when mixed in.
Can I make it gluten-free?
Use gluten-free graham crackers or cookies for the crust.
Can I use an electric whisk to whip the cream?
Yes, it’s the easiest way to achieve soft peaks for folding into the filling.
How do I serve clean slices?
Dip a sharp knife in hot water and wipe between slices for clean, smooth cuts.
Conclusion
No-Bake Marshmallow Cheesecake is a whimsical, melt-in-your-mouth dessert that’s as easy as it is delightful. The creamy marshmallow filling is perfectly balanced by the buttery crust, creating a light yet indulgent treat that everyone will love. With endless variations and zero oven time, this cheesecake is a guaranteed crowd-pleaser for any occasion. Whether you keep it classic or dress it up with your favorite toppings, it’s pure dessert perfection — fluffy, smooth, and simply unforgettable.
Looking for more tasty recipes? Visit our website for full details and follow us on Pinterest for daily food ideas to save and share
