Why You’ll Love This Recipe
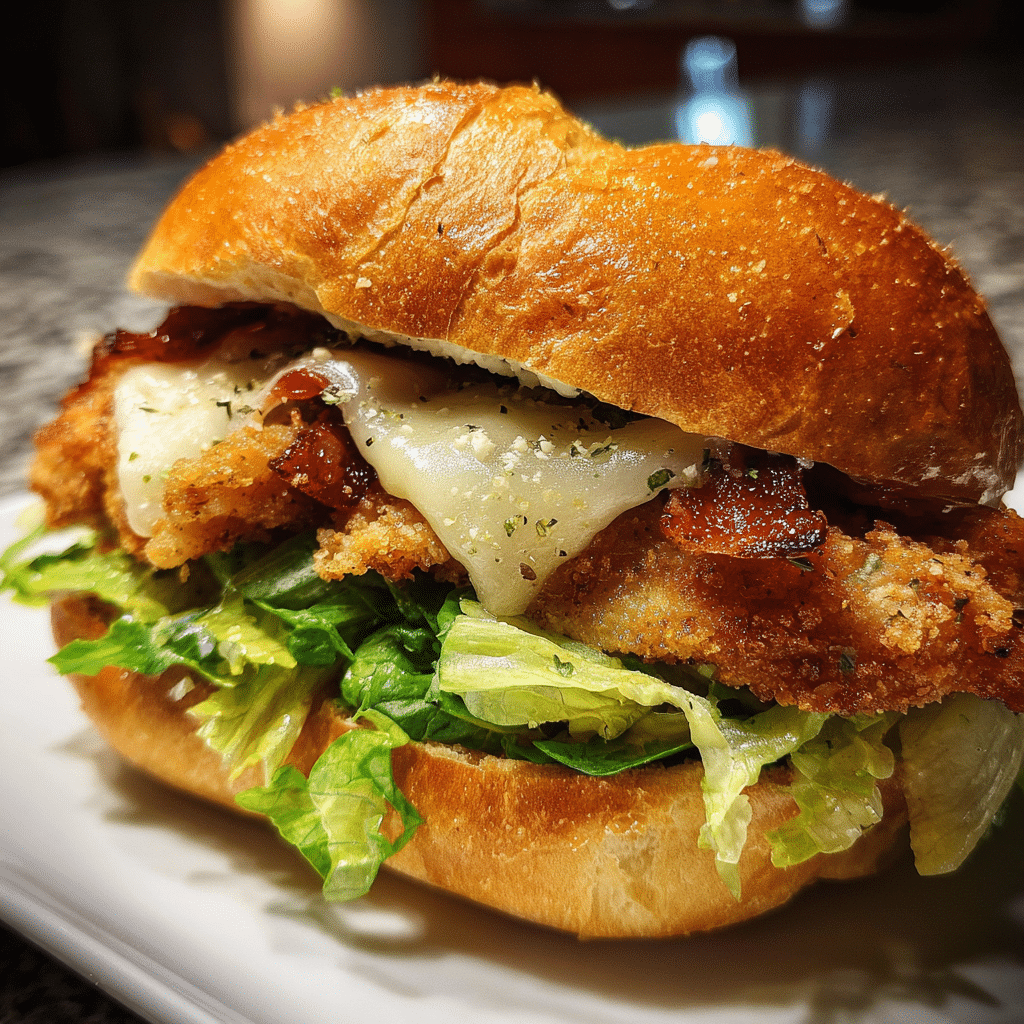
The crispy chicken Caesar sandwich is everything you love about the classic Caesar salad — creamy dressing, crisp lettuce, and savory Parmesan — packed between two perfectly toasted buns. The golden, crunchy chicken fillet provides the ultimate contrast to the cool, tangy Caesar dressing and fresh greens, creating a flavor and texture combination that’s nothing short of addictive. I once tried this with homemade Caesar dressing and a brioche bun, and it elevated the entire sandwich to restaurant-quality perfection. It’s quick to make, easy to customize, and perfect for lunch, dinner, or even weekend meal prep. Whether you bake or fry the chicken, this sandwich delivers a satisfying crunch and that unmistakable Caesar salad flair in every bite.
PrintCrispy Chicken Caesar Sandwich: A Crunchy, Creamy, and Irresistible Favorite
- Total Time: 35 mins
- Yield: 4 sandwiches
- Diet: Halal
Description
A crunchy, flavorful Crispy Chicken Caesar Sandwich featuring golden fried chicken, crisp romaine lettuce, Parmesan cheese, and creamy Caesar dressing — all stacked inside a toasted bun for the ultimate lunch or dinner treat.
Ingredients
- 2 large chicken breasts, sliced in half lengthwise (to make 4 fillets)
- 1 cup buttermilk
- 1 cup all-purpose flour
- 1/2 cup breadcrumbs (panko for extra crunch)
- 1 teaspoon garlic powder
- 1 teaspoon paprika
- 1/2 teaspoon salt
- 1/2 teaspoon black pepper
- 1/4 teaspoon cayenne pepper (optional)
- Oil for frying
- 4 sandwich buns or brioche rolls
- 2 cups chopped romaine lettuce
- 1/4 cup grated Parmesan cheese
- 1/2 cup Caesar dressing (store-bought or homemade)
- 1 tablespoon butter (for toasting buns)
Instructions
- Marinate chicken fillets in buttermilk for at least 30 minutes (or up to overnight for extra tenderness).
- In a shallow bowl, mix flour, breadcrumbs, garlic powder, paprika, salt, pepper, and cayenne.
- Heat oil in a skillet over medium-high heat (about 1 inch deep).
- Remove chicken from buttermilk, letting excess drip off, and coat evenly in the flour mixture. Press to ensure the coating sticks well.
- Fry chicken for 4–5 minutes per side until golden and cooked through (internal temp 74°C / 165°F). Transfer to a wire rack to stay crispy.
- In a bowl, toss chopped romaine with Caesar dressing and Parmesan cheese.
- Toast the sandwich buns lightly in butter on a skillet until golden.
- Assemble sandwiches: place crispy chicken on the bottom bun, top with dressed lettuce, and add the top bun.
- Serve immediately for the perfect crunch and flavor!
Notes
- For a lighter version, bake the chicken at 200°C (400°F) for 20 minutes or air fry for 15 minutes.
- Add crispy bacon for an extra flavor boost.
- Use homemade Caesar dressing with anchovies for a more authentic taste.
- Prep Time: 15 mins
- Cook Time: 20 mins
- Category: Main Course
- Method: Frying
- Cuisine: American
Ingredients
(Tip: You can find the complete list of ingredients and their measurements in the recipe card below.)
Chicken breasts – Boneless and skinless, pounded evenly for quick, even cooking. You can also use chicken cutlets for convenience.
Flour – Creates the base layer for the crispy coating and helps the egg adhere to the chicken.
Eggs – Used to bind the coating and ensure that perfect golden crust.
Breadcrumbs (panko or regular) – Panko breadcrumbs give a lighter, crunchier texture, while regular breadcrumbs offer a more traditional coating.
Parmesan cheese – Mixed into the breadcrumbs for extra flavor and that signature Caesar-style nuttiness.
Garlic powder and black pepper – Season the coating to infuse flavor into every bite.
Salt – Essential for seasoning the chicken and enhancing all other flavors.
Olive oil or cooking spray – Helps achieve that crisp, golden exterior whether baking or pan-frying.
Caesar dressing – Creamy, tangy, and garlicky — the signature sauce of this sandwich. Use your favorite store-bought brand or homemade version.
Romaine lettuce – Crisp, fresh, and the perfect complement to the creamy dressing and crispy chicken.
Buns or sandwich rolls – Choose soft but sturdy buns like brioche, ciabatta, or Kaiser rolls that can hold up to the sauce and crunch.
Lemon juice (optional) – A small squeeze over the chicken before assembling brightens the flavors.
Directions
Preheat your oven to 400°F (200°C) or heat oil in a large skillet over medium heat if pan-frying.
Start by preparing the coating. In three shallow bowls, place flour in one, beaten eggs in another, and a mixture of breadcrumbs, Parmesan, garlic powder, salt, and pepper in the third.
Pat the chicken breasts dry and season lightly with salt and pepper. Dredge each piece first in flour, then dip into the egg, and finally coat thoroughly with the breadcrumb mixture.
To bake: Place chicken on a greased baking rack set over a baking sheet. Lightly spray with cooking oil and bake for 20–25 minutes, flipping halfway, until golden and crispy.
To fry: Heat a few tablespoons of olive oil in a skillet. Cook the chicken for 4–5 minutes per side until golden brown and cooked through (internal temperature should reach 165°F / 74°C). Transfer to a paper towel-lined plate to drain excess oil.
While the chicken cooks, lightly toast the buns. Spread Caesar dressing generously on the top and bottom halves. Layer with fresh romaine lettuce and a sprinkle of Parmesan cheese.
Place the crispy chicken fillet on the bottom bun, add a drizzle of Caesar dressing, and finish with the top bun. For an extra burst of freshness, squeeze a little lemon juice over the chicken before closing the sandwich.
Serve immediately while the chicken is still warm and the coating perfectly crunchy.
Essential Equipment
Must-Have Tools to Get Rolling
Here’s what you’ll want to have on hand:
- Large pot – You’ll need this to boil the whole cabbage head and soften the leaves.
- large bowl –Spacious, durable large bowl ideal for mixing, serving, or food preparation. Made from sturdy material and easy to clean.
- Sharp knife – For coring the cabbage and slicing out the thick stem in each leaf. A paring knife works best.
- Mixing bowl – A big bowl makes it easier to combine your meat and rice filling evenly.
- Cutting board – For prepping cabbage leaves and rolling them like a pro.
- 9×13-inch baking dish – Ideal size to fit your rolled cabbage leaves snugly and prevent them from unraveling.
- knife – A sharp, durable kitchen knife perfect for slicing, chopping, and dicing with ease.
- Silicone Spatula – Durable, heat-resistant silicone spatula perfect for mixing, scraping, and spreading. Gentle on non-stick cookware and easy to clean.
Servings and timing
This recipe makes 4 sandwiches. Preparation takes about 15 minutes, and cooking takes 20 minutes. Total time: roughly 35 minutes.
Storage/reheating
Store leftover chicken fillets separately in an airtight container for up to 3 days. Reheat in a preheated oven or air fryer at 375°F (190°C) for 8–10 minutes until crispy. Avoid microwaving, as it can make the coating soggy. Assemble sandwiches fresh to maintain the best texture and flavor.
Variations and Customizations
Grilled Chicken Caesar Sandwich – Skip the coating and grill the chicken for a lighter version.
Spicy Caesar Sandwich – Add hot sauce or cayenne to the breadcrumb mix for a fiery kick.
Garlic Butter Caesar Sandwich – Brush toasted buns with garlic butter before assembling for extra richness.
Bacon Caesar Sandwich – Add crispy bacon strips for smoky depth and crunch.
Double Cheese Caesar – Melt a slice of provolone or Swiss cheese on the chicken before assembling.
Keto-Friendly Caesar Sandwich – Skip the bun and serve over lettuce wraps or low-carb bread.
Buffalo Caesar Sandwich – Toss the crispy chicken in buffalo sauce before layering with Caesar dressing for a tangy-spicy twist.
Avocado Caesar Sandwich – Add slices of ripe avocado for creaminess and healthy fats.
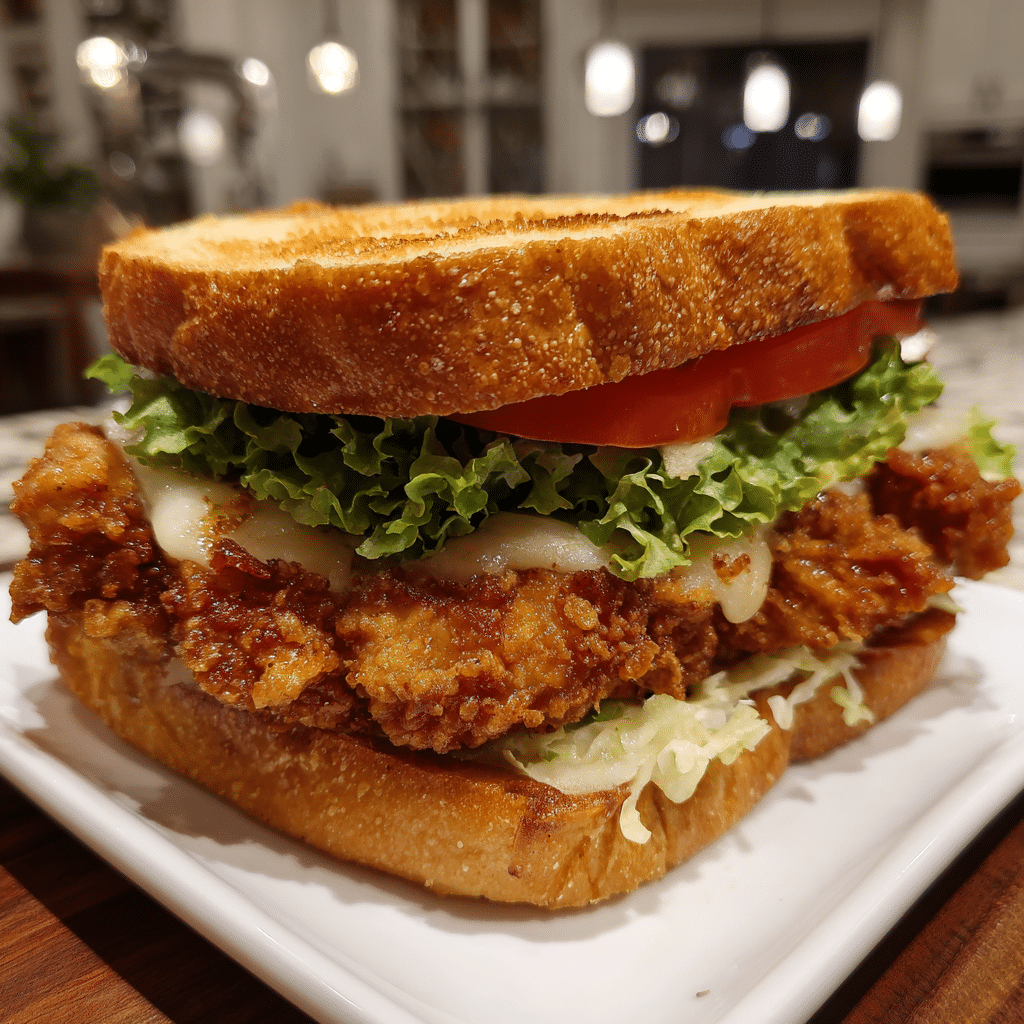
Caesar Club Sandwich – Layer crispy chicken, bacon, and tomato on toasted sandwich bread for a club-style upgrade.
Mini Caesar Sliders – Use small slider buns for party-sized sandwiches that are just as flavorful.
FAQs
Can I use chicken tenders instead of breasts?
Yes, chicken tenders work great and cook faster — perfect for sliders or smaller sandwiches.
Can I use air fryer for this recipe?
Absolutely. Air fry at 380°F (193°C) for 10–12 minutes, flipping halfway, for perfectly crispy results.
What’s the best Caesar dressing to use?
Use your favorite brand or make your own with mayo, Parmesan, lemon, anchovy paste, and garlic.
How do I keep the coating from falling off?
Pat the chicken dry before dredging and press the breadcrumbs firmly to help them adhere.
Can I make this ahead of time?
Cook the chicken ahead and reheat before assembling the sandwiches to keep them crispy.
Can I bake instead of fry?
Yes, baking or air frying gives a crispy crust with less oil.
What kind of bun works best?
Brioche buns are soft and slightly sweet, while ciabatta adds rustic crunch — both work beautifully.
Can I add tomatoes or other veggies?
Of course — sliced tomatoes, onions, or even pickles can add freshness and contrast.
Is there a dairy-free option?
Use dairy-free Parmesan and Caesar dressing alternatives to make it completely dairy-free.
Can I serve this cold?
It’s best warm, but it’s still delicious cold if you’re packing it for lunch.
Conclusion
The crispy chicken Caesar sandwich brings together the best of two worlds — the crunch of golden chicken and the creamy tang of Caesar dressing — in one incredible bite. With its perfect balance of texture and flavor, this sandwich is a guaranteed hit for family meals, picnics, or casual get-togethers. Easy to make and endlessly customizable, it’s proof that comfort food can be both simple and spectacular. Once you’ve tried it, you’ll find yourself coming back to this recipe again and again — crispy, creamy perfection on a bun.
Looking for more tasty recipes? Visit our website for full details and follow us on Pinterest for daily food ideas to save and share