Why You’ll Love This Recipe
This recipe is eye-catching, easy to customize, and perfect for entertaining. The strawberry crunch adds nostalgic flavor, the cheesecake filling is rich and creamy, and the taco format makes them fun and mess-free to serve.
Print
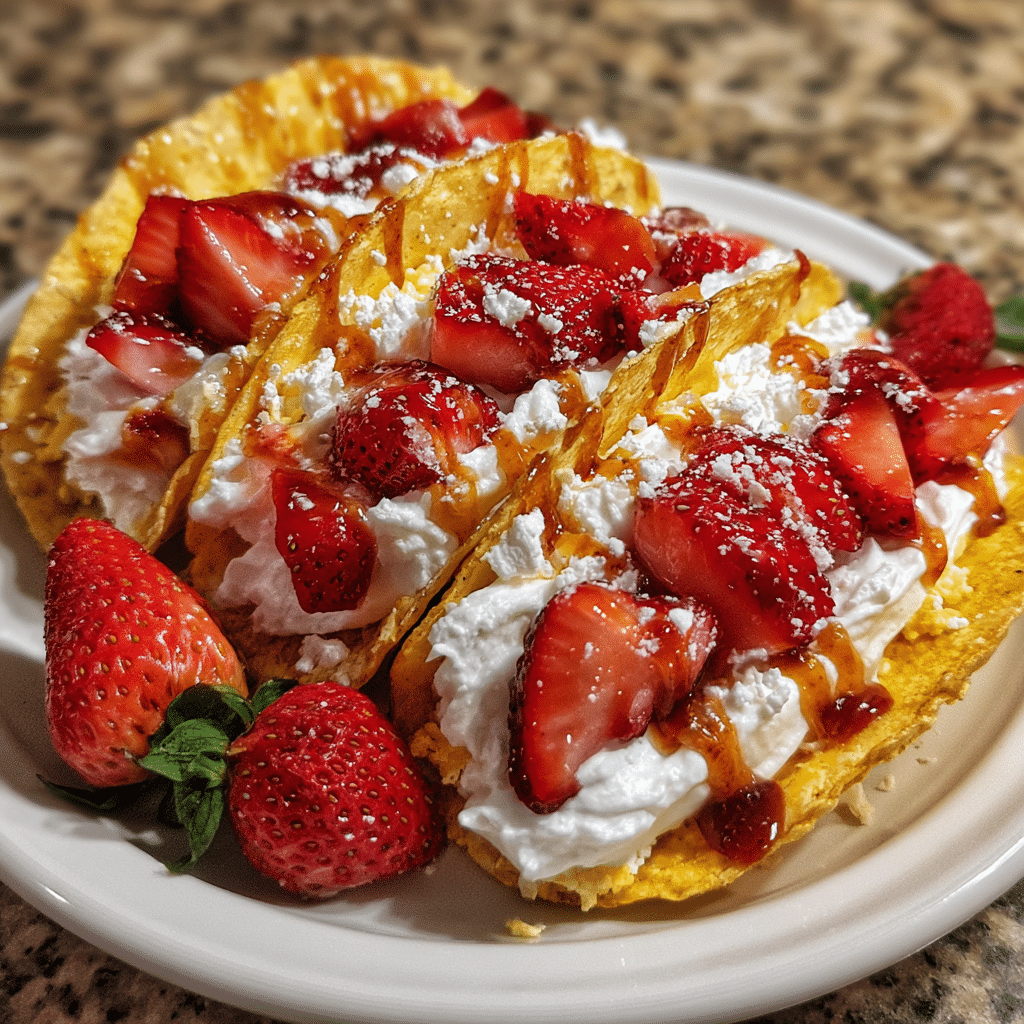
Delicious Strawberry Crunch Cheesecake Tacos
- Total Time: 35 minutes
- Yield: 8 tacos
- Diet: Vegetarian
Description
Crispy dessert tacos filled with creamy cheesecake and coated in sweet strawberry crunch crumbs, inspired by classic strawberry shortcake ice cream bars.
Ingredients
- 8 small flour tortillas
- 1/4 cup unsalted butter, melted
- 1/3 cup granulated sugar
- 1 teaspoon ground cinnamon
- 8 oz cream cheese, softened
- 1/2 cup powdered sugar
- 1 teaspoon vanilla extract
- 1 cup heavy whipping cream
- 1 cup golden sandwich cookies, crushed
- 1/2 cup freeze-dried strawberries, crushed
- Fresh strawberries, sliced (optional, for topping)
Instructions
- Preheat the oven to 375°F (190°C).
- Brush tortillas with melted butter on both sides.
- Mix granulated sugar and cinnamon and sprinkle over tortillas.
- Drape tortillas over oven rack bars to form taco shapes.
- Bake for 8–10 minutes until golden and crisp. Let cool completely.
- In a bowl, beat cream cheese, powdered sugar, and vanilla until smooth.
- In a separate bowl, whip heavy cream to stiff peaks.
- Gently fold whipped cream into the cream cheese mixture.
- In another bowl, mix crushed cookies and freeze-dried strawberries to make the crunch topping.
- Fill cooled taco shells with cheesecake filling.
- Dip or sprinkle tacos generously with strawberry crunch topping.
- Top with fresh strawberries if desired and serve immediately.
Notes
- Allow taco shells to cool fully before filling to keep them crunchy.
- Best served the same day they are made.
- You can pipe the filling for a cleaner presentation.
- Prep Time: 25 minutes
- Cook Time: 10 minutes
- Category: Dessert
- Method: Baking
- Cuisine: American
Ingredients
(Tip: You can find the complete list of ingredients and their measurements in the recipe card below.)
Small flour tortillas
Form the base of the taco shells and crisp up beautifully.
Butter
Helps the tortillas brown evenly and allows coatings to stick.
Sugar
Adds sweetness and helps create a crunchy exterior.
Freeze-dried strawberries
Provide intense strawberry flavor and vibrant color for the crunch coating.
Golden sandwich cookies
Add sweetness and crunch to the strawberry topping.
Cream cheese
Creates the rich, smooth base of the cheesecake filling.
Powdered sugar
Sweetens the filling while keeping it silky smooth.
Vanilla extract
Enhances the overall cheesecake flavor.
Heavy cream or whipped topping
Lightens the filling and adds fluffy texture.
Fresh strawberries
Add freshness and natural sweetness for garnish.
Directions
Begin by preparing the strawberry crunch topping. Crush the freeze-dried strawberries and golden sandwich cookies until fine crumbs form. Set aside.
Prepare the taco shells by brushing both sides of the tortillas with melted butter. Lightly sprinkle with sugar, then drape the tortillas over the bars of an upside-down oven rack or shape them using a taco mold. Bake until golden, crisp, and set. While still warm, gently press the shells into the strawberry crunch crumbs so they adhere. Allow the shells to cool completely.
For the filling, beat the cream cheese until smooth. Add powdered sugar and vanilla extract, mixing until fully combined. Gently fold in the heavy cream or whipped topping until the mixture becomes light and fluffy.
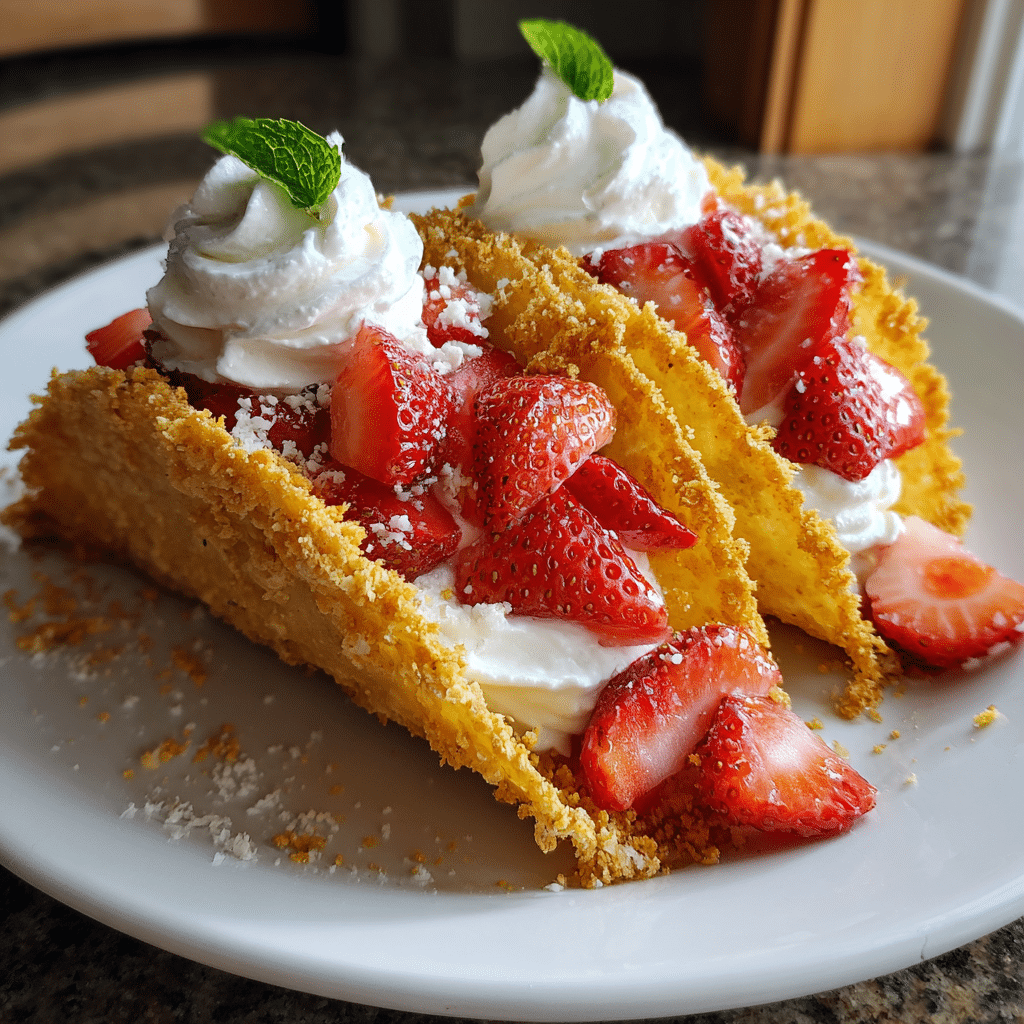
Once the shells are fully cooled, spoon or pipe the cheesecake filling into each taco shell. Garnish with fresh strawberries and an extra sprinkle of strawberry crunch. Serve immediately for best texture.
Essential Equipment
Must-Have Tools to Get Rolling
Here’s what you’ll want to have on hand:
Silicone Spatula – Durable, heat-resistant silicone spatula perfect for mixing, scraping, and spreading. Gentle on non-stick cookware and easy to clean.
Large pot – You’ll need this to boil the whole cabbage head and soften the leaves.
large bowl –Spacious, durable large bowl ideal for mixing, serving, or food preparation. Made from sturdy material and easy to clean.
Sharp knife – For coring the cabbage and slicing out the thick stem in each leaf. A paring knife works best.
Mixing bowl – A big bowl makes it easier to combine your meat and rice filling evenly.
Cutting board – For prepping cabbage leaves and rolling them like a pro.
9×13-inch baking dish – Ideal size to fit your rolled cabbage leaves snugly and prevent them from unraveling.
knife – A sharp, durable kitchen knife perfect for slicing, chopping, and dicing with ease.
Servings and timing
Serves 8–10 tacos
Preparation time: 20 minutes
Baking time: 8–10 minutes
Cooling time: 10 minutes
Total time: about 40 minutes
Storage/reheating
These cheesecake tacos are best enjoyed fresh. Store shells and filling separately in airtight containers for up to two days. Assemble just before serving to maintain crunch. Do not reheat once filled.
Variations and Customizations
Chocolate Strawberry Cheesecake Tacos
Drizzle with chocolate sauce for added richness.
No-Bake Shell Version
Use pre-made dessert taco shells for convenience.
Strawberry Lemon Cheesecake Tacos
Add lemon zest to the filling for brightness.
Mini Dessert Tacos
Use smaller tortillas for bite-sized portions.
Low-Sugar Option
Use reduced-sugar cookies and sweetener alternatives.
White Chocolate Strawberry Tacos
Mix melted white chocolate into the filling.
Crunch-Loaded Version
Double the strawberry crunch coating for extra texture.
Frozen Cheesecake Tacos
Freeze briefly before serving for a chilled dessert.
Berry Mix Tacos
Add raspberries or blueberries for variation.
Party Platter Style
Serve shells, filling, and toppings separately for build-your-own tacos.
FAQs
Can I fry the taco shells instead of baking them?
Yes, frying creates extra crunch but baking is lighter and cleaner.
Do the shells stay crunchy?
Yes, as long as they are filled just before serving.
Can I make the filling ahead of time?
Yes, refrigerate the filling for up to two days.
What gives the strawberry crunch its flavor?
Freeze-dried strawberries provide intense strawberry taste.
Can I use store-bought cheesecake filling?
Yes, but homemade has better flavor and texture.
Are these tacos very sweet?
They are balanced with creamy, tangy cheesecake filling.
Can kids help make these?
Yes, especially with coating shells and piping filling.
Can I make them gluten-free?
Use gluten-free tortillas and cookies.
Do I need fresh strawberries on top?
They are optional but add freshness and color.
Can these be served chilled?
Yes, but fill them close to serving time to keep shells crisp.
Conclusion
Delicious Strawberry Crunch Cheesecake Tacos are a playful, eye-catching dessert that combines creamy cheesecake, nostalgic strawberry crunch, and crispy taco shells into one unforgettable treat. Perfect for parties, celebrations, or anytime you want a dessert that feels both fun and indulgent, these tacos deliver bold flavor and irresistible texture in every bite. Once you serve them, expect requests for the recipe every time.
Looking for more tasty recipes? Visit our website for full details and follow us on Pinterest for daily food ideas to save and share